
The idea struck me when I stumbled upon these super cute Valentine's Day plates at Target, which just so happened to be in the colours we chose for our wedding!
I bought a few of them, not knowing exactly HOW they would be put to use, just knowing that they WOULD be... and got cracking!
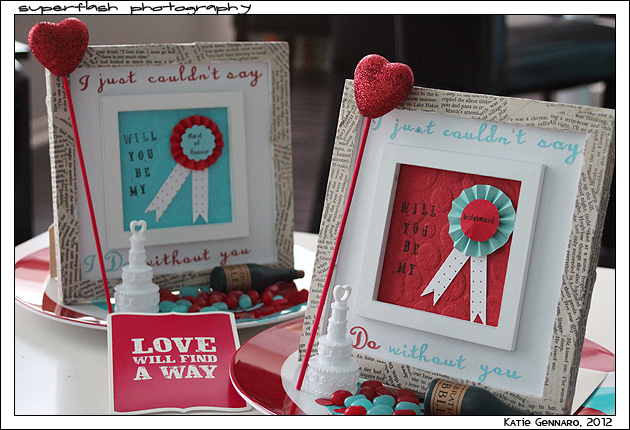
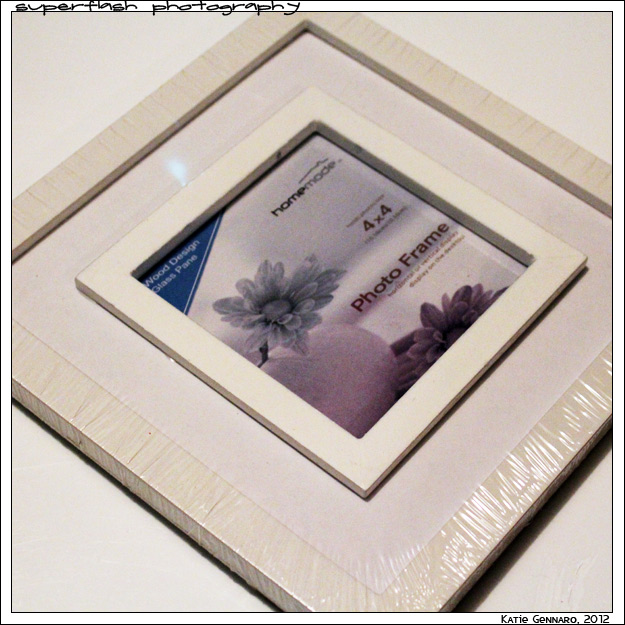
It started to come together when I found this frame. I thought about decoupaging it in our wedding colours, but instead, I settled on decoupaging it with pages from a vintage romance novel (My one bridesmaid, Marlena, actually got a frame that was decoupaged with pages from a French romance novel!)
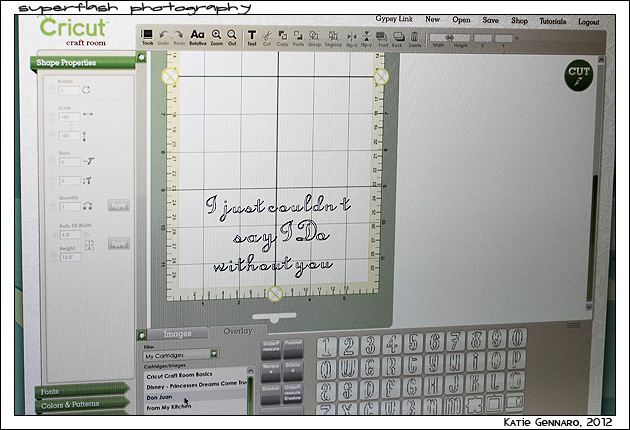
Then, I discovered this awesome program to use in conjunction with my Cricut machine called Cricut Craft Room. It allows you to create a layout using cartridges you already own, OR, any Cricut cartridge, which you can then purchase online, directly through the program. This made it a lot easier to visualize, because I could see exactly how big the letters would turn out.
 I took my letters, and very carefully (using tweezers when necessary!) glued them on the inner matting of my frame. The Craft Room program made it super easy to get just the three letters ("I Do") in a different colour, because I knew exactly where to position the paper on the cutting mat. I used a glue runner to glue the letters down, because it's easier and less messy than white glue, a glue stick, etc. You could also do it with mod podge, if you prefer.
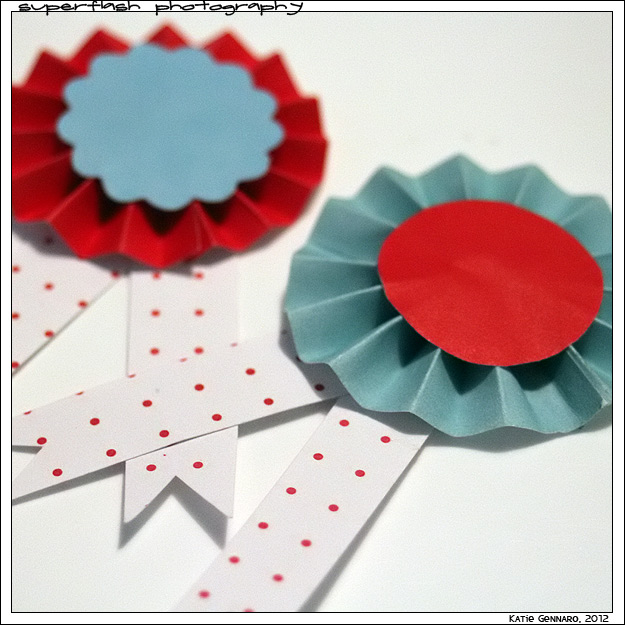 I created some paper medallions, using this tutorial over at How About Orange. Inside the centre of each medallion, I wrote Bridesmaid, or Maid Of Honour. I then glued them to a piece of textured paper that matched the centre of the medallion, and on the paper, I stamped, "Will you be my"
Because the ribbons are higher than a flat picture, I couldn't replace the glass part of the frame, so what I did was include it behind the art work - that way, if the girls decide, they can replace the "proposal" part of the frame, with a picture of us at the wedding, afterwards!
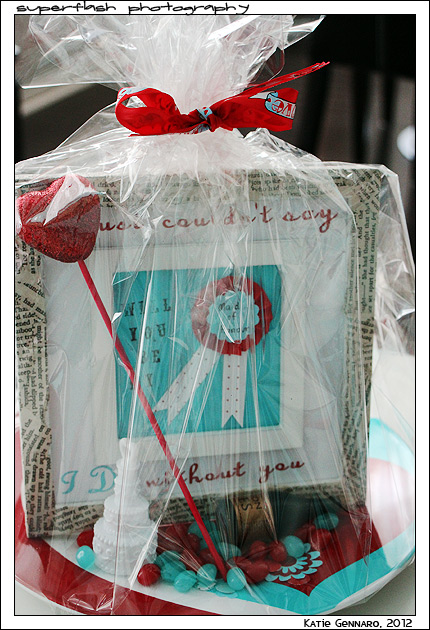
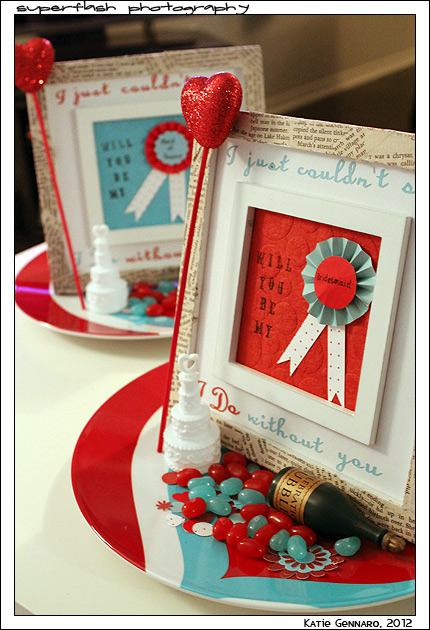 I put it all together with some Cherry Red & Aqua coloured Jelly Belly's, and some cheesy, wedding related bubbles that I found at the dollar store (wedding cake & champagne). I used the Cricut and some of my own decorative punches to create confetti out of matching paper.
I included a card that told each girl why I picked her, and how much she meant to me... Then I wrapped it all up in cellophane and hoped they'd say yes!
(They did!)
Feel free to Pin this on Pinterest and draw inspiration for your own bridesmaid proposal! Please let me know if you decide to do something similar!


